/Phin%20Logo%20Stacked.png?width=60&height=60&name=Phin%20Logo%20Stacked.png)
IMPORTANT NOTE - 8.12.2025
Creating, viewing, and editing all campaign types has moved to a single, unified Campaigns page, which can be accessed under 'Campaigns' from the side navigation. This article and others may not accurately represent the location of campaign tools.
Canceling a phishing campaign is quick and easy on Phin's platform.
Step 1: Navigate to the Phishing Campaigns Menu
If you aren't already at the home screen of the client portal, start by navigating to the home screen.
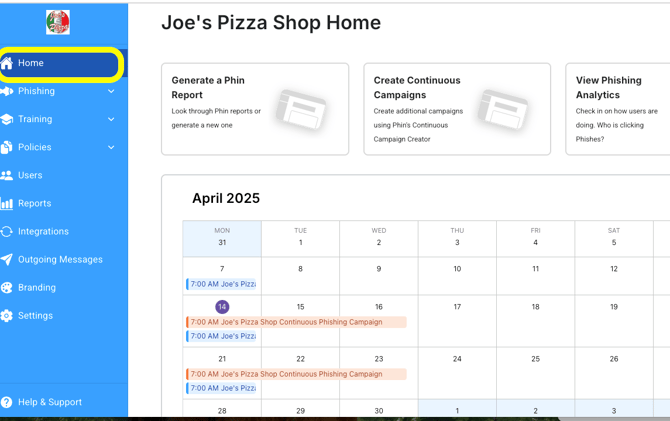
Once here, we need to get into the Phishing Campaigns Menu.
- Getting to the dashboard via the left-hand side menu.
- Start by clicking on 'Campaigns' in the left-hand side menu.
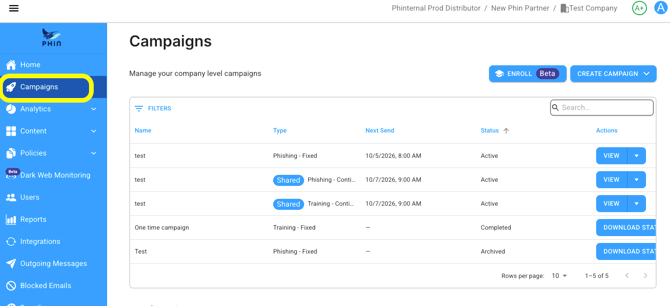
- Start by clicking on 'Campaigns' in the left-hand side menu.
Step 2: Canceling the phishing campaign
You can cancel a phishing campaign by 'Archiving' it. Select the drop-down next to 'View' on the right-hand column:
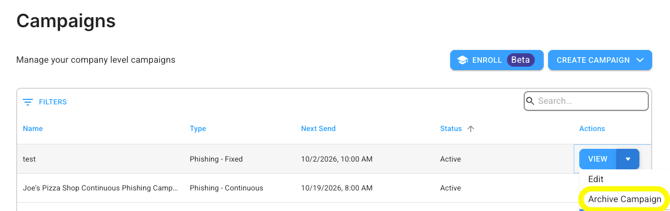
Once archived, you can still access the stats of the campaign or fully delete it by selecting the drop-down on the right-hand side again to delete it completely.
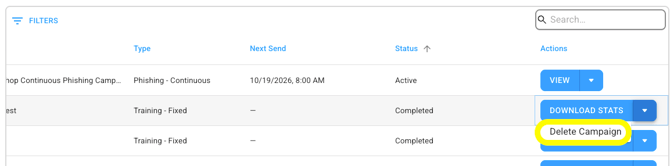
After clicking this button, a prompt will pop up on your screen, warning you that this action can not be undone. Once a campaign is canceled, it can not be started again. The only action moving forward would be to create a new campaign.
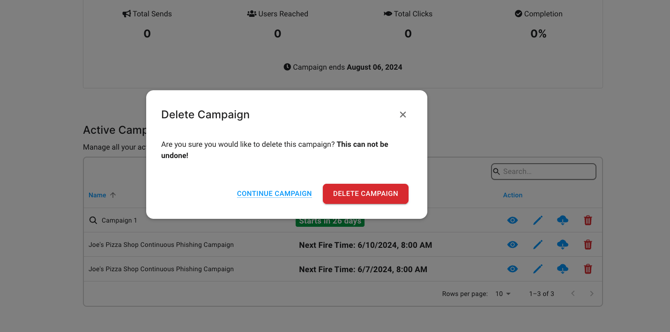
Your campaign is now canceled!
Step 3: Pulling data from archived campaigns
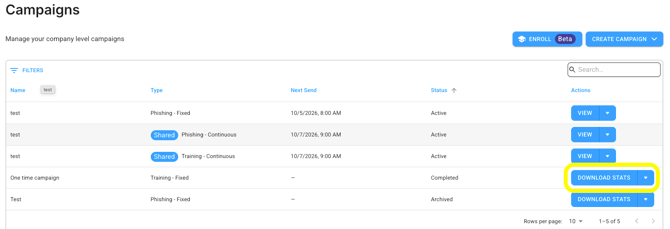
At any given time, you can pull the data from previously archived campaigns by looking under archived campaigns in the 'Campaigns' menu. Select 'Download' status to download an excel spreadsheet of the data for this campaign: