/Phin%20Logo%20Stacked.png?width=60&height=60&name=Phin%20Logo%20Stacked.png)
IMPORTANT NOTE - 8.12.2025
Creating, viewing, and editing all campaign types has moved to a single, unified Campaigns page, which can be accessed under 'Campaigns' from the side navigation. This article and others may not accurately represent the location of campaign tools.
- Select the Phishing drop-down menu and click Campaigns.
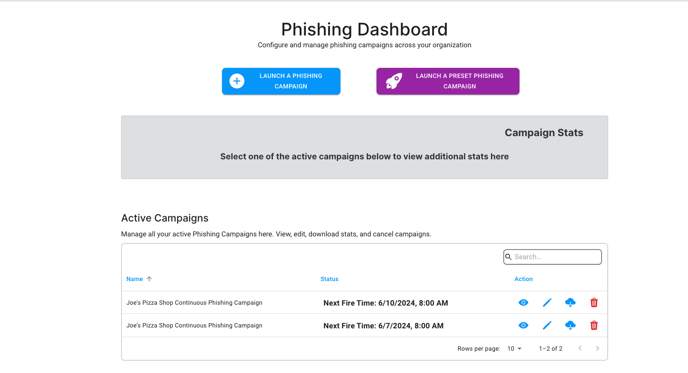
- Now that you're in the Phishing Dashboard, you will see two buttons at the top of the page. Click on Launch a Preset Phishing Campaign to go into the custom campaign creator tool.
- After clicking on Launch a Preset Phishing Campaign, you will be brought to our Campaign Launcher page. We have created 3 presets for you, but any presets you save within the custom phishing campaign creator (learn more here) will show up here as well.
- To begin the process of launching a preset phishing campaign, you can just hover over a saved preset you'd like to launch. Click the purple Launch Preset button to be brought into the campaign launcher.
- Name the campaign.
- Set the frequency of the campaign.
- Frequency
- Week
- Weekday
- Time
- Preview any of the templates.
- Launch the campaign
You will now see your newly launched preset campaign under Active Campaigns on the Phishing Dashboard.