/Phin%20Logo%20Stacked.png?width=60&height=60&name=Phin%20Logo%20Stacked.png)
⚠️ Editing the manifest image, if not done properly, could result in the button not working in Outlook. The best way to resolve issues if you have edited the manifest is to re-download it from the Report Phishing integration and follow the instructions to import it as-is without any changes.
As always, the Phin team is here to help.
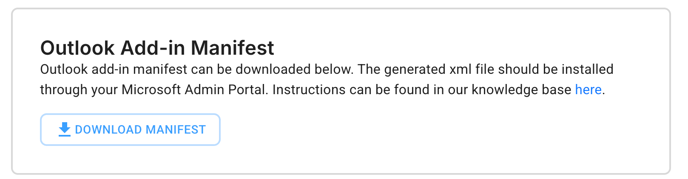
Step 1. Download the manifest from within the Phin company tenant you're integrating the Report Phishing button with. It will be bottom right of the Report Phishing integration page.
Step 2. Open the manifest file in your preferred text editing software (VS Code, Notepad, etc.) and update the image sources to point to the image you want for the icon.
There are 5 locations in which the default image icons will need to be replaced; you can identify these locations in the file as each file ends in the file extension .png. Each of these file locations represents the same image, however, each is a different file representing a different image size to ensure the image quality is high fidelity across screen sizes.
Icon Image requirements:
- The images must be square as to not distort within Outlook. (eg, 16 x 16px)
- The images must be hosted publicly via a cloud service.
- There must be 5 images, each in the appropriate size. Below is the list of each file size in the order (top to bottom) they can be found in the manifest file.
- 64 x 64px
- 128 x 128px
- 16 x 16px
- 32 x 32px
- 80 x 80px
Specific lines in the file are not provided as they may change in the future.
Step 3: Upload the modified manifest following these instructions.
If you've done this correctly you should see the image you've chosen in place of the report phishing icon on the Phin Security button in Outlook.